


How to Choose Audio Equipment for Sound Healing
Sound healing instruments produce an unusually wide range of tones and vibrations. A single session may include deep drum resonance, the bright harmonics of chimes, the sustained tones of singing bowls, and the voice guiding the experience.
Capturing and sharing these sounds clearly, whether online or in a live room, requires the right audio equipment. That is what this guide is for.
Many people first try using a simple USB microphone plugged directly into a computer. While convenient, these microphones are not designed to capture the full range of sound produced by instruments like crystal bowls or gongs. The result is often distortion, muted tones, or only a fraction of the instrument’s voice being heard.
With the right setup, however, your participants can hear the sound clearly and feel much closer to the experience of being in the room with you.
This guide explains the basic equipment needed and how to choose the right setup for your work.

Why Audio Equipment Matters
Sound healing relies on subtle vibration and resonance. If the audio system cannot accurately reproduce those vibrations, much of the experience is lost.
A good microphone and sound system allows participants to hear:
- the full sustain of a singing bowl
- the subtle harmonics of chimes
- the depth of a drum
- the spacious resonance of a gong
When amplified properly, sound can also fill a room more evenly, allowing participants to feel immersed in the soundscape rather than straining to hear it.
Step 1: Choose the Right Microphone
The microphone is the most important part of your audio setup.
Different microphones are designed for different purposes. In sound healing work, two types are commonly used.
Condenser Microphones (for instruments)
Condenser microphones are designed to capture detailed sound. They are highly sensitive and can reproduce the full tonal spectrum of instruments such as:
- crystal singing bowls
- gongs
- drums
- chimes
- flutes
Because of this sensitivity, condenser microphones are usually the best choice for capturing sound healing instruments clearly.
Dynamic Microphones (for voice)
Dynamic microphones are commonly used for vocals in live music settings. They are designed to handle loud sound without distortion.
These microphones are ideal for:
- guiding meditation
- speaking during sound baths
- singing or chanting
However, they are less effective at capturing subtle instrument tones.
For most sound healing setups, practitioners use both types of microphones:
one for voice and one or more for instruments.
Step 2: Use a Mixer Instead of Plugging Directly Into Your Computer
Professional microphones do not plug directly into a computer.
Instead, they connect to a small device called a mixer (or audio interface). The mixer converts the microphone signal into digital audio that your computer can use for Zoom, recording, or streaming.
The mixer also allows you to:
- adjust volume levels for each microphone
- balance different instruments
- prevent distortion from loud sounds
When choosing a mixer, it is usually wise to select one with more microphone inputs than you currently need, since many practitioners expand their instrument setups over time.
Step 3: Decide How Many Microphones You Need
The number of microphones depends largely on how many instruments you are playing.
Simple setup
If you are using:
- one to four crystal bowls
- a small instrument setup
One condenser microphone may be enough. The microphone can be placed above or slightly in front of the instruments to capture the overall sound.

Medium setup
If you are using:
- five or more bowls
- multiple instruments
Two condenser microphones will usually give a much better result. Placing them on either side of the instrument area helps capture the full sound evenly.
Larger setups
If you are working with:
- large bowl sets
- gongs
- drums
- multiple sound sources
It can be helpful to dedicate specific microphones to different instruments.
For example:
- one microphone for bowls
- one for a gong
- one for a drum
This allows each instrument to be captured clearly without overwhelming the others.
Step 4: Microphone Placement
Where you place your microphones matters just as much as which microphones you use.
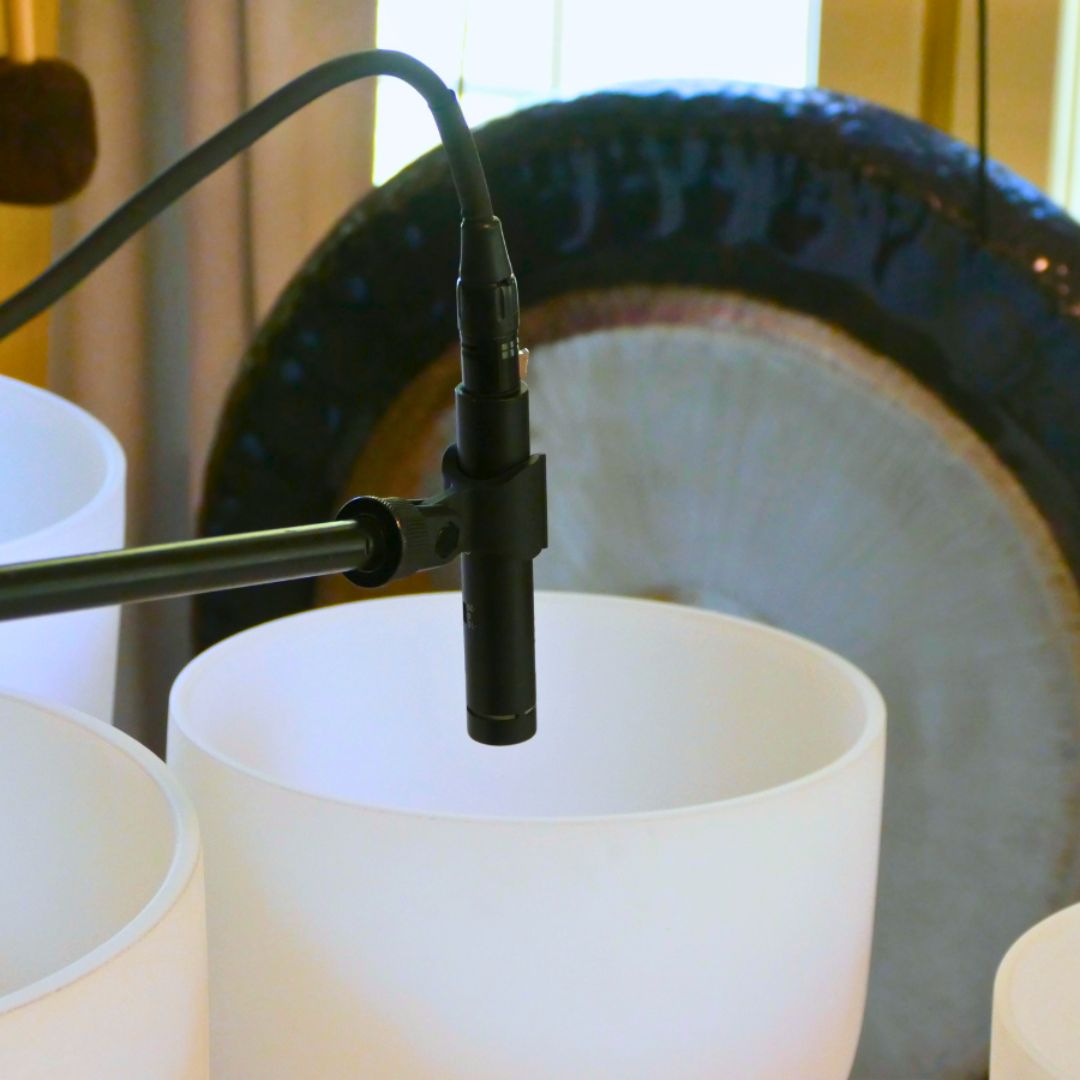
Crystal Bowls
Place the microphone slightly above the bowls so it captures the overall sound rather than a single bowl.
Gongs
Gongs should be recorded from several feet away. This allows the microphone to capture the full wave of vibration rather than just the initial strike.
Drums
Large drums may benefit from their own microphone, particularly when deep bass tones are involved.
Chimes
Chimes usually do not need a dedicated microphone and can be captured by the microphones already set up for bowls or other instruments.
Step 5: Live Amplification vs Online Sessions
The same audio setup can usually serve both purposes.
Online sessions
For Zoom or livestreaming, the audio chain usually looks like this:
microphones → mixer → computer
This allows participants to hear your instruments clearly even from a distance.
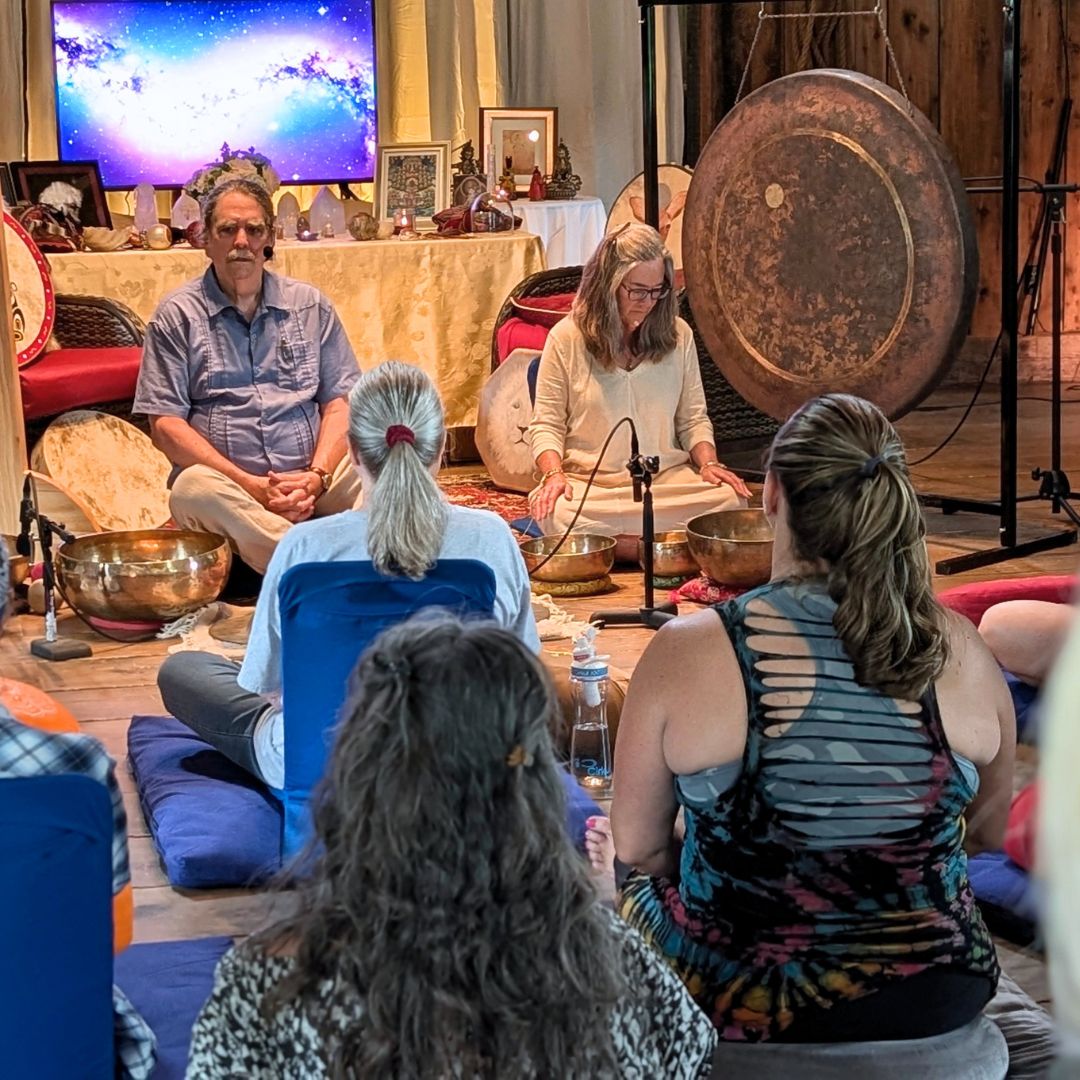
Live sound baths
For live sessions, the mixer can also send audio to speakers.
Amplifying the sound in a large room helps participants feel surrounded by the vibration rather than hearing it from only one direction.
In larger spaces or outdoor settings, amplification can dramatically improve the experience.
Additional Equipment
A complete audio setup usually includes a few additional components:
Microphone stands
These hold microphones in position and allow precise placement.
XLR cables
These cables connect microphones to the mixer. Each microphone requires one cable.
Speakers (for live sessions)
Speakers project the sound into the room when amplification is needed.
A Final Thought
Audio equipment does not need to be complicated, but choosing the right tools can make a significant difference in the experience you offer.
With the right microphones and mixer, the subtle resonance of your instruments can be heard clearly—whether someone is sitting across the room or listening from the other side of the world.
If you are unsure what equipment will best support your work, we are always happy to help you choose a system that fits your instruments and your practice.